
I’ve been going through CSS on free code camp and watching a Youtuber named Kevin Powell doing that I’ve learned a lot thus the need for a fake website.
First I needed a design so I made one in Pixelorama
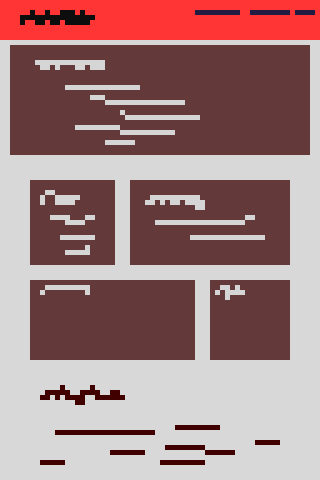
at first It was grayscale to make sure everything contrasted than I added colors I didn’t use a palette so it doesn’t look great but its fine.
Grid was fun to mess around with, I had to use Kevin Powell to make a pretty nav bar that could also scale.
One issue I encountered was that the footer wasn’t at the very bottom of the page so it looked ugly I tried to push it down using its margin but that didn’t work, turns out my fake page was to small and by adding more content it snapped into place.
The project is on my GitLab. Bye.